This blog post is contributed by Matthew, he is a copywriter for Aumcore, a 360° digital marketing agency based in New York City. He writes on a variety of topics that range from Brand development to mobile app designs, and specializes in eCommerce web development and mobile SEO.
The online world is populated by countless eCommerce platforms that literally number in the hundreds. You have Magento, BigCommerce, Big Cartel, Squarespace, WooCommerce, Shopify, and many others. But seeing as how we’re talking about Shopify, here are some Shopify basics you should know.
Shopify Basics
Shopify is one of the most popular eCommerce platforms and supports almost 400,000 merchants. You’re bound to find it in many ‘top eCommerce platforms,’ and for good reasons. Before we get there, let’s cover pricing. Shopify is quite affordable and has three different plans with varying features, and offers a free 14 day trial to whet your appetite.

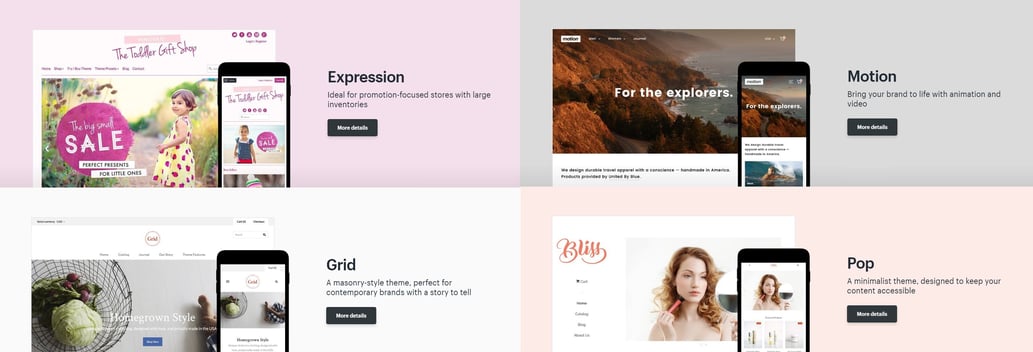
If you’re into visuals, then get ready to jump for joy because Shopify has many beautiful themes that can be customized until they suit your every whim. You have themes for just about every industry — from art & photography to sports & recreation, price range and layout preference.
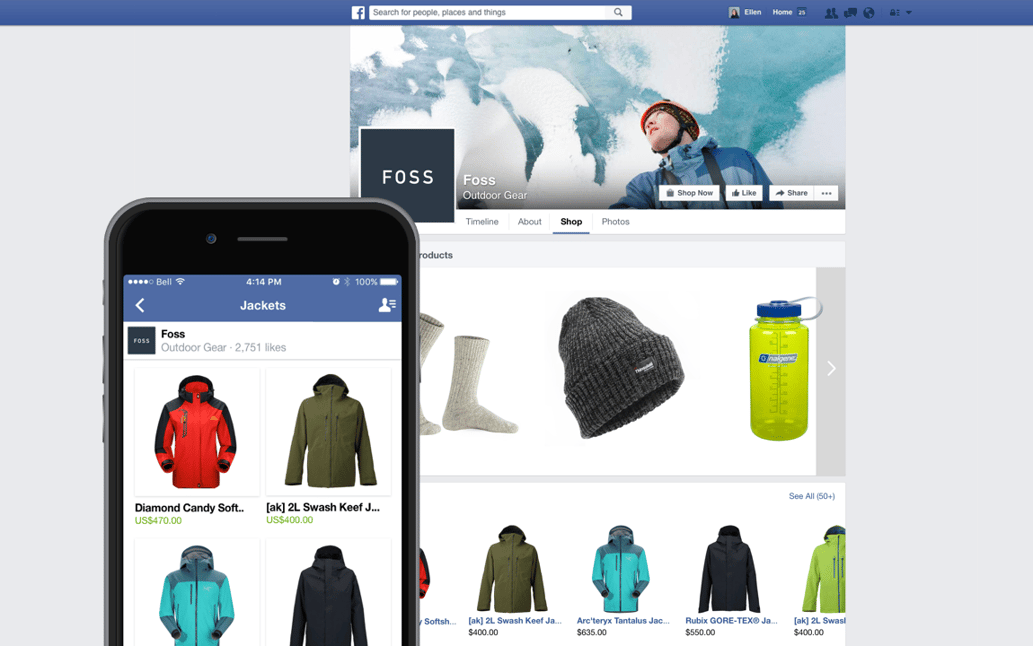
You’re also covered in terms of marketing essentials, as Shopify was build for startups who want to grow. Even the most basic package comes with SEO tools and features that provide advanced analytics to optimize your store, and you can also make use of their features that’ll guarantee repeat shoppers, such as custom gift cards, discount codes, social integration with Facebook, Instagram, Pinterest and others, and a lot more.
For ease-of-use, web hosting is also taken care of, security is top-notch, and you have access to 24/7 support by email, live chat, and phone.
Shopify Migration
For whatever reason, you’ve decided to migrate your online store to Shopify from another platform. Maybe the one your store is currently based out of doesn’t support mobile shoppers, and we all know how important it is to offer an engaging and seamless mobile experience. Either way, it may seem like a Herculean task, but it’s actually not as hard as it seems! As a matter of fact, it’s quite simple and can be done in nine easy steps provided by Shopify:
Step 1: Configure Your Basic Administrative Settings
Before you do anything, make sure to do the basics like reviewing Shopify’s eCommerce migration considerations, which include implementing URL redirects and removing specific protocols such as HTTP and HTTPS (to make sure that all your store assets are accessible).
Also important is to complete your soon to be Shopify store’s initial setup. This includes:
- A general checklist that covers everything from organizing your store to promoting it
- Another checklist for setting up that deals with set-up, management and preparing to launch
- Adding business settings and information to your store — name, customer-facing email address, time zone, default store currency, default weight, password, etc.
- Getting started with your store by adding your first product, choosing and publishing a theme, and setting up a domain for your store
- Further setting up by adding more products, ‘About Us’ and “Contact Us’ pages, and a menu with links to your store
- Choosing your store management settings, including shipping settings, payment methods, setting up taxes, and adding store policies
- And finally, preparing to launch by placing a test order and removing the online store password so that anyone can see it
Note: Some of the above will be covered in greater detail in the next steps
After you cross the T’s and dot the I’s in the initial setup, it’s time to manage your Shopify account by updating your billing cycle, billing information and plan, and changing your store plan, store’s internal and customer-facing Shopify email address, and the account owner’s profile.
Finally, round-off the first step by adding staff accounts so that your team members get personal login accounts to keep sensitive information secure.
Step 2: Import Your Store’s Data to Shopify
With the basics behind you, it’s time to import your store’s data to Shopify. You have a couple of options here, so choose what’s best for you:
- Use a store migration app, which will simplify things by minimizing the amount of work you have to do. You can use Shopify’s free migration apps, Bulk Discounts and Product Reviews, or third-party apps available in the Shopify App Store.
- Transfer your data manually with CSV files if an app isn’t available — use this guide to import products and this one to import customer lists.
- Use a store migration app like Cart2Cart which will simplify things by minimizing the amount of work you have to do (it supports data migration between over 85 ecommerce platforms, so yours is most likely on the list).
- You can also use Shopify’s free migration apps, Bulk Discounts, and Product Reviews, or third-party apps available in the Shopify App Store.
Step 3: Organize Your Products After Migration
If you DID use a migration app for importation, make sure that everything was imported correctly by:
- Adding and updating product details, including product names, descriptions, images, variants and meta descriptions
- Creating a collection for further organization — e.g., clothes for men, women, or children, sale items, seasonal products, etc.
- Familiarizing yourself with your inventory with inventory apps to avoid problems down the line, such as running out of inventory or selling out-of-stock products
Step 4: Make Your Website Look Great
When you finish with your products, focus on your store’s aesthetics and make everything pretty and fabulous! Lucky for you, Shopify has plenty of beautifully designed themes that you can tweak to better capture your brand’s style.
Here’s what you have to do:
- Visit the Shopify Theme Store and browse by what’s trending, price, industry, or other filters
- Install (and preview) the theme
- Publish the theme so that your customers can see it in all its glory
- Finally (and optional), customize the theme by yourself or by hiring a Shopify expert
Step 5: Set Up Your Domain
Once you’re satisfied with your store’s appearance, switch gears and focus on your domain. You can either buy a whole new one from Shopify or third-party sellers, or transfer your existing domain to your new Shopify account.
If you’re purchasing from Shopify:
- Make the purchase
- Enable auto-renewal to prevent accidental expirations
- Set your Shopify domain as your primary domain so that people can find it though search and social media
- Set up email forwarding and send yourself a couple of test emails to ensure that never miss a customer’s query
If you’re purchasing through a third-party provider:
- Make the purchase
- Follow Shopify’s instructions for custom domains
- Claim your Shopify domain
- Follow steps 3 and 4 from above (purchasing from Shopify)
Step 6: Set Up Your Shipping
If you deal in physical products, then you definitely can’t forget about shipping. As such, make sure to set up accurate shipping rates and methods so that you don’t end up overcharging or asking for more money when the time to ship comes.
Note: Disable the shipping option if you’re selling digital products/services.
Here’s how to properly set up your shipping:
- Add your shipping address for accurate shipping rates based on your location
- Create shipping zones — and shipping rates per zone — so that you can ship everywhere
- If you’re using carrier-calculated shipping rates, configure your shipment dimensions
- Pick the shipping strategy that works best for your business
- Decide whether you’ll ship items yourself or use a third-party through fulfillment services
Step 7: Configure Your Taxes
Definitely don’t forget your taxes! Keep in mind that depending on where you’re based, there will be different rules and regulations about what sales taxes can be applied to which products. And, of course, always keep track of your taxes to curb any issues that may arise during tax season.
Step 8: Set Up a Payment Provider
As a business, you want to make money. You therefore have to set up a payment provider so that your paying customers can actually pay you, be it by credit card, debit card, or the many other payment options available in the online world.
Here’s how:
- Choose a payment provider from Shopify or a supported third-party
- Enable Shopify Payments or a third-party payment provider
- Decide how you want to capture and authorize payments
Step 9: Place Some Test Orders
Finally, place some test orders to make sure that everything is running smoothly! As an added bonus, you’ll gain valuable insights into your customer’s journey as they buy your products. Shopify also suggests to run a test order for the following types of transactions you might encounter:
- Completing a successful and failed transaction
- Refunding and canceling an order
- Fulfilling or partially fulfilling an order
- Achieving a successful order
Step-By-Step Rewind
Not too hard, right? To make sure that everything sticks, here’s what we covered today regarding your Shopify migration:
- Configure Your Basic Administrative Settings
- Import Your Store’s Data to Shopify
- Organize Your Products After Migration
- Make Your Website Look Great
- Set Up Your Domain
- Set Up Your Shipping
- Configure Your Taxes
- Set Up a Payment Provider
- Place Some Test Orders
Good luck migrating!